For Tesla Model Y owners, accessing vehicle diagnostics and adding aftermarket accessories might seem unconventional due to the absence of a readily apparent OBD2 port in the traditional location. However, the Model Y, like other modern vehicles, does incorporate an OBD2 system, albeit requiring an adapter to access it. This guide will illuminate the location of the OBD2 port in your Tesla Model Y and how you can utilize an OBD2 adapter to unlock a range of functionalities.
Understanding the OBD2 Port and Its Significance
The On-Board Diagnostics II (OBD2) port is a standardized interface in modern vehicles that allows access to the car’s computer system. Mechanics and car enthusiasts use it to read diagnostic trouble codes, monitor vehicle parameters in real-time, and even customize certain vehicle functions. While traditionally found under the dashboard on the driver’s side, Tesla vehicles, including the Model Y, often require a different approach to access this valuable data.
Locating the OBD2 Port in Your Tesla Model Y
The location of the OBD2 port in a Tesla Model Y varies depending on the model year. Here’s a breakdown to help you pinpoint it in your vehicle:
For Model Years Prior to 2024: Center Console Access
In Tesla Model Y vehicles manufactured before 2024, the OBD2 port is not directly accessible. Instead, you need to install an OBD2 adapter that bridges the existing connectors located within the center console area. Specifically, the connection point is situated in the rear footwell, underneath a small, discreet cover.
To access this location:
- Prepare the Vehicle: Before starting any installation, it’s crucial to completely power down your Tesla Model Y. This ensures safety and prevents any electrical issues during the process. Tesla recommends disabling Sentry Mode and then powering off the car via the touchscreen controls (Controls -> Safety -> Power Off). It’s imperative to wait for approximately 8-10 minutes after power off, allowing all vehicle systems, including CAN buses and relays, to fully shut down. You should hear a relay “click” and ensure there’s no residual humming from the vehicle.
- Access the Rear Footwell Connector: Locate the protective cover in the rear passenger footwell. This cover is secured by five clips. Gently pull or slit the hatch to release these clips and remove the cover.
- Expose the Connectors: Removing the cover will reveal the wiring harness and a connector. This is where the OBD2 adapter will be installed.
- Install the OBD2 Adapter: Disconnect the existing connector. Insert the OBD2 adapter between these disconnected connectors, ensuring all connections are firmly and correctly seated.
- Secure and Conceal: Once the adapter is in place, carefully close the cover. You can route the OBD2 port cable (if your adapter has one) to a more accessible location, such as under the rear footwell cover or beneath the front seats. This foresight will save you from having to reopen the cover every time you need to access the OBD port.
For 2024 and Newer Models: Driver’s Footwell
For Tesla Model Y vehicles of the 2024 model year and onwards, the OBD2 port location has been relocated for easier access. In these newer models, the OBD adapter is installed in the driver’s footwell area. Look for the socket positioned near the right side of the driver’s foot area, behind a panel.
(It is assumed that the image from the original article is relevant to the 2024+ location, so it will be placed here)
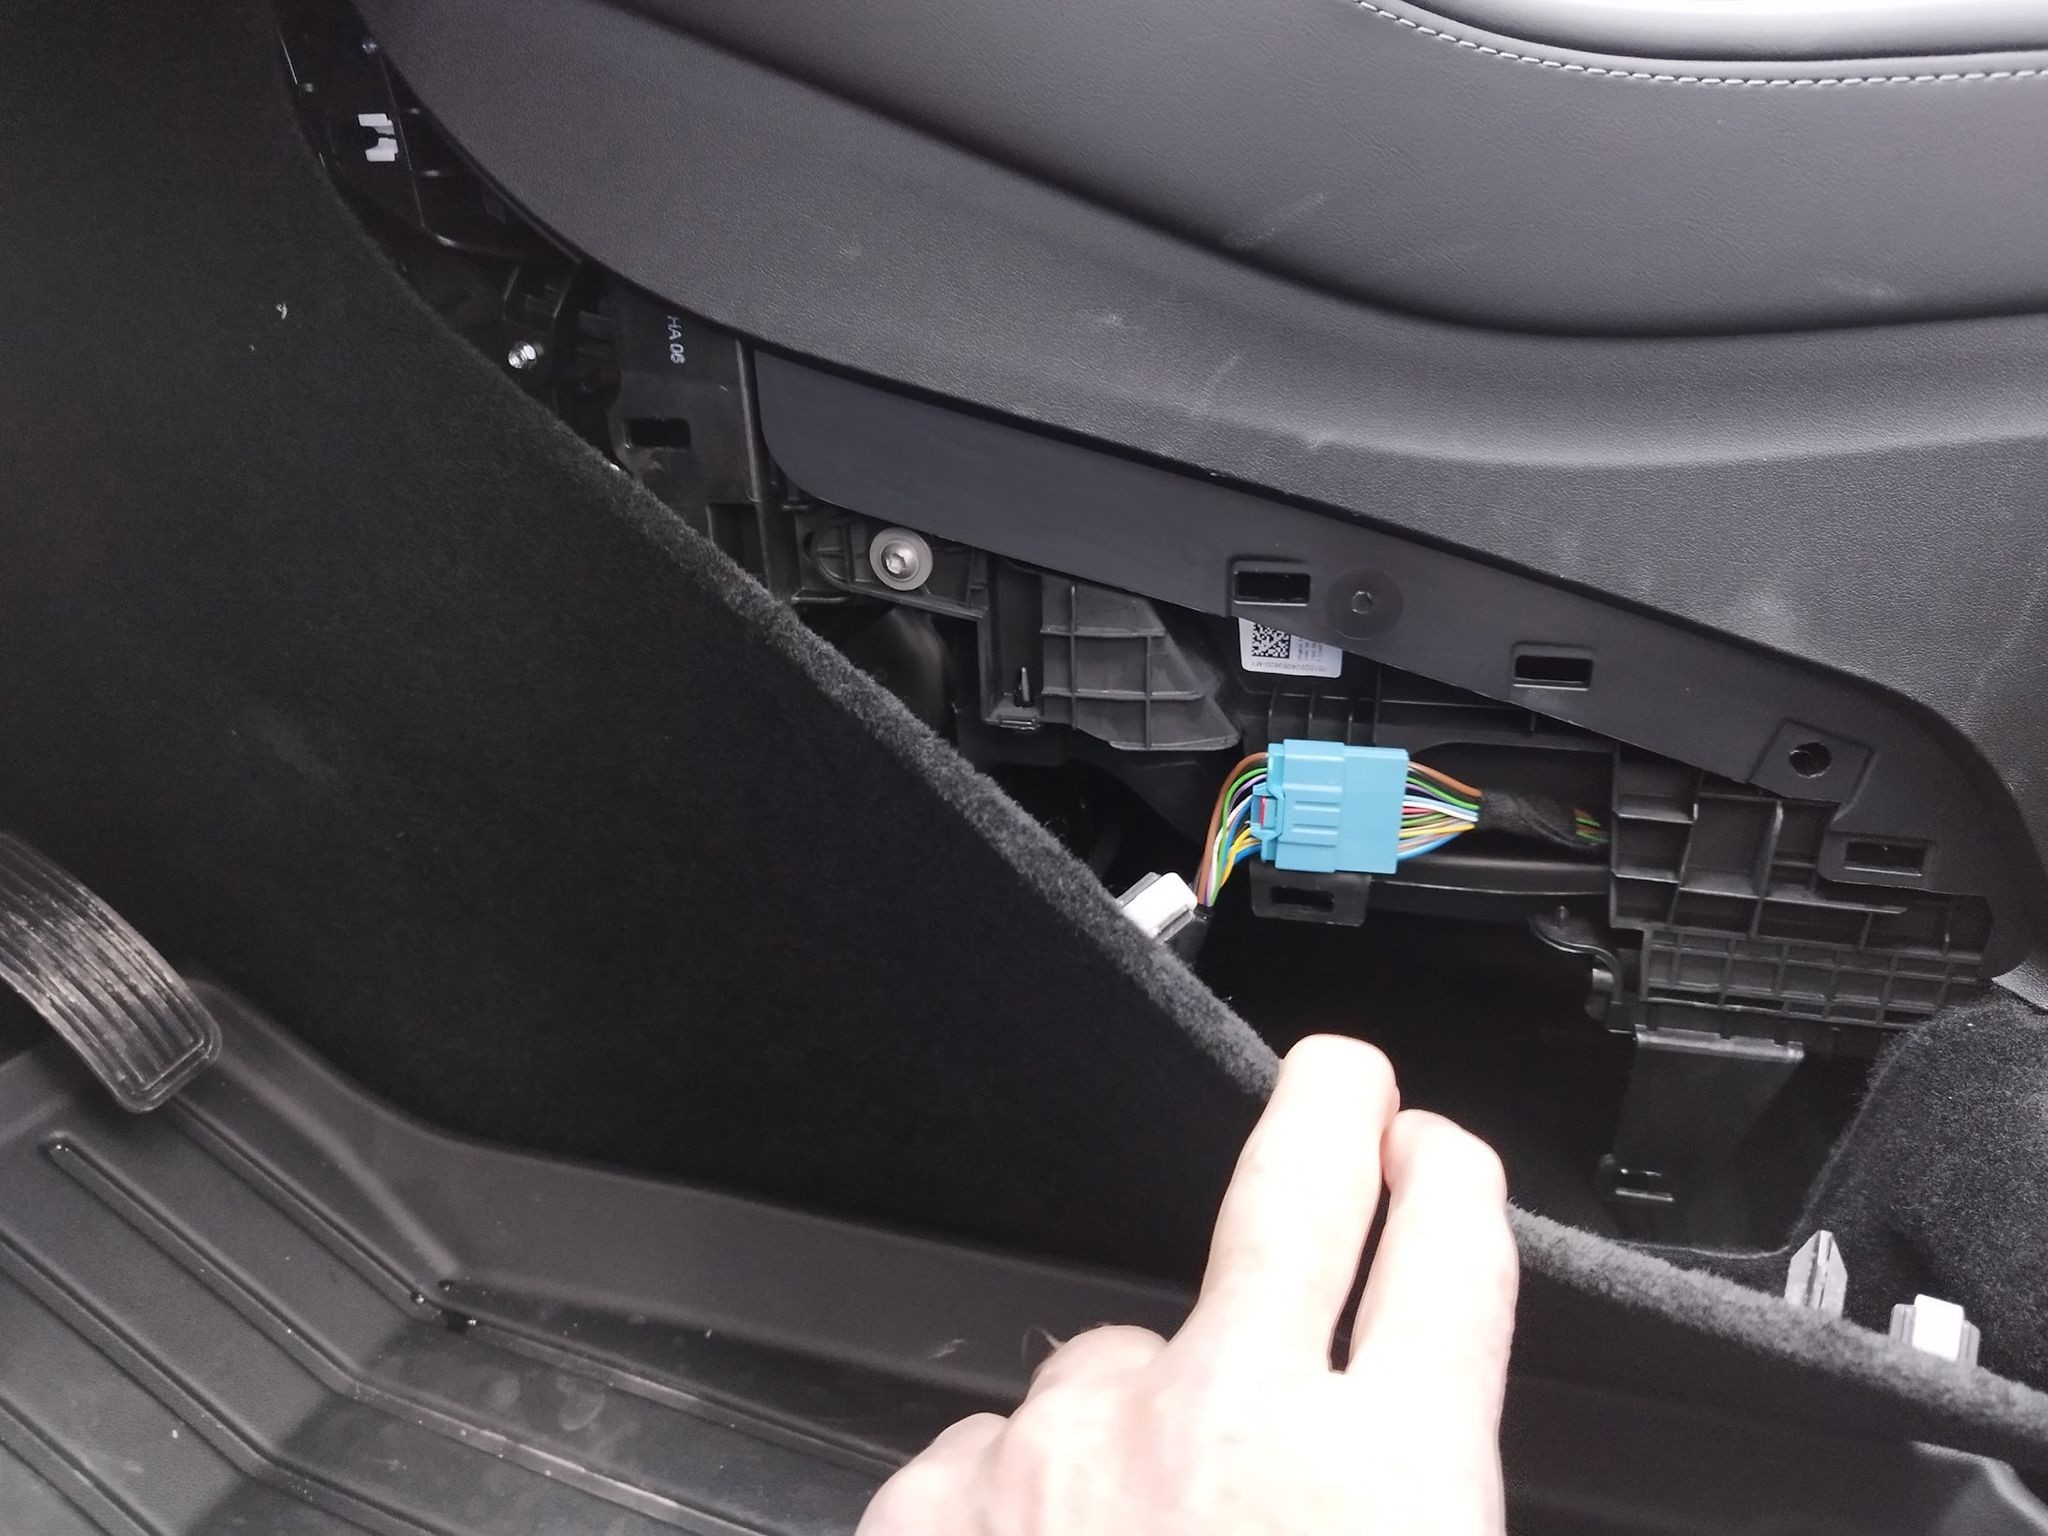 Tesla Model Y OBD2 port location 2024 driver footwell. Image shows the OBD2 adapter port in the driver's side footwell of a 2024 Tesla Model 3, indicating the location is similar for the Model Y.
To access this location in 2024+ models:
- Power Down: As with the previous model years, begin by completely powering down your Tesla Model Y, waiting the full 8-10 minutes after using the “Power Off” command on the touchscreen.
- Locate the Panel: In the driver’s footwell, identify the panel on the right side.
- Access the Socket: Behind this panel, you will find the OBD2 connector socket where the adapter is to be plugged in.
- Install the OBD2 Adapter: Connect the OBD2 adapter to this socket. Ensure it is securely fitted.
- Conceal and Route (Optional): You can again route the OBD2 port to a more convenient spot if needed.
Utilizing Your Tesla Model Y OBD2 Port
Once you have installed the OBD2 adapter, you can connect various OBD2 devices, such as:
- OBD2 Bluetooth Dongles: These allow you to wirelessly connect your smartphone or tablet to your car’s diagnostic system. You can use apps to monitor performance, read error codes, and gain insights into your Tesla’s operation.
- Performance Monitoring Devices: Track real-time data like speed, RPM, battery voltage, and more.
- Aftermarket Accessories: As mentioned in the original article, devices like the XBB Dongle for auxiliary lights can utilize the OBD2 connection to capture trigger data for additional vehicle lighting.
Important Safety Notes and Considerations
- Power Down is Crucial: Always ensure the vehicle is completely powered off before commencing any installation. Failure to do so can risk damage to your Tesla’s electrical systems.
- Installation Caution: Exercise utmost care during installation. If you are uncomfortable with any step, seek professional assistance. Valostore and similar retailers typically disclaim liability for installation errors.
- Product Compatibility: Verify that any OBD2 adapter and devices you intend to use are specifically compatible with Tesla Model Y vehicles and the intended model year.
Conclusion
While Tesla Model Y vehicles don’t feature a traditional, readily accessible OBD2 port, adding one with an adapter is a straightforward process. By understanding the correct location for your model year—either in the center console for pre-2024 models or the driver’s footwell for 2024 and newer—and following the recommended safety procedures, you can unlock the benefits of OBD2 connectivity in your Tesla Model Y. This opens up possibilities for advanced diagnostics, performance monitoring, and seamless integration of aftermarket accessories, enhancing your ownership experience.