Experiencing a loose OBD2 port in your Mazda RX8 can be frustrating, especially when you need to diagnose engine issues or run diagnostics. A wobbly connection can prevent proper communication with scanning tools, hindering your ability to troubleshoot problems effectively. Many RX8 owners encounter this issue, and thankfully, it’s often a straightforward fix you can tackle yourself. This guide will walk you through the steps to secure your RX8’s OBD2 port, ensuring a reliable connection for all your diagnostic needs.
Identifying the Loose OBD2 Port Issue
Before diving into the repair, confirm that the OBD2 port is indeed loose. Gently try to wiggle the port. If it moves excessively within its housing, or if your OBD2 scanner frequently loses connection, you likely have a loose port. This looseness usually stems from the internal connectors losing their tightness over time or the port becoming detached from its bracket.
Tools You’ll Need
Fortunately, this repair requires minimal tools. You’ll likely have most of these in a basic toolkit:
- Small flathead screwdriver or probe (a set of precision probes, like the blue set shown in the original post, is ideal for automotive electrical work)
- Small bent nose pliers (optional, for re-inserting wires if needed)
- Good lighting to see the small components clearly
Step-by-Step Guide to Fixing Your RX8 OBD2 Port
This repair involves carefully removing the OBD2 port, adjusting the internal connectors, and reassembling everything securely. Follow these steps for a successful fix:
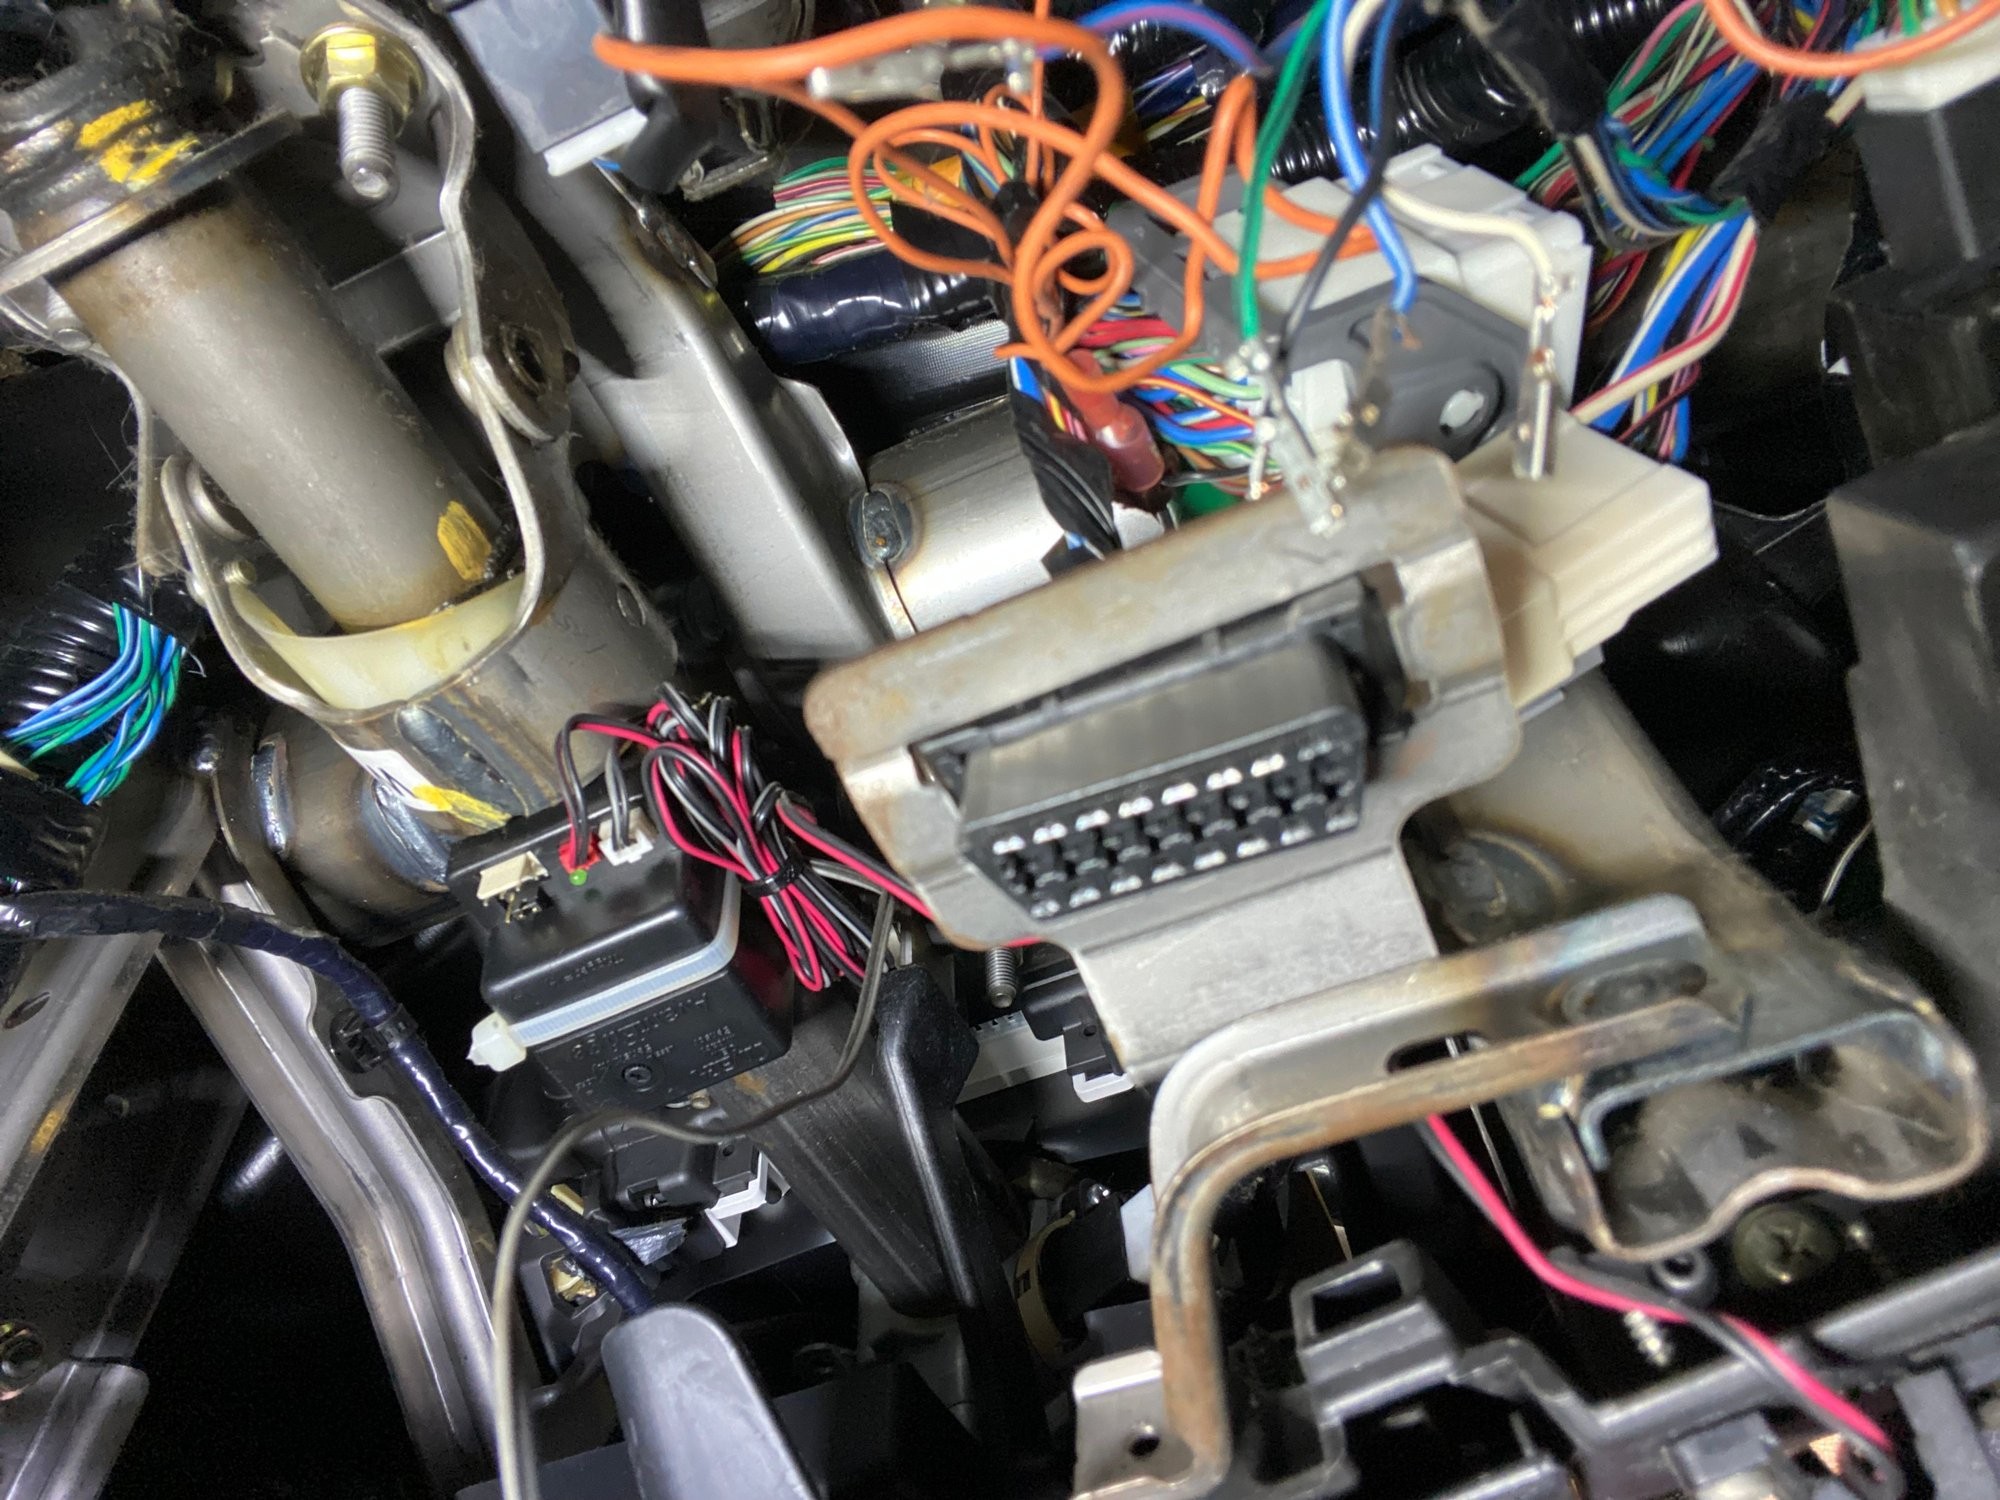
Step 1: Removing the OBD2 Port from the Bracket
The first step is to detach the OBD2 port from its mounting bracket, typically located under the dashboard on the driver’s side.
-
Locate the Plastic Tabs: Examine the sides of the OBD2 port where it connects to the bracket. You’ll find two plastic tabs that secure it in place.
-
Release the Tabs: Using your small flathead screwdriver or probe, push one of the plastic tabs inward. Simultaneously, gently push the OBD2 port upwards and inwards, towards the center, to free it from the bracket on that side. Repeat this process for the second tab on the opposite side. Working one side at a time, while applying slight pressure to the port, makes removal easier.
Bracket and Port
- Free the Port: Once both tabs are released, the OBD2 port should be free from the sheet metal bracket. You can now gently pull it down to access the wiring at the back.
Step 2: Detaching the Wires
With the OBD2 port removed from the bracket, you’ll see the back side with the wires connected.
-
Document Wire Positions: Before disconnecting any wires, take photos or carefully note down the color and position of each wire. This is crucial for correct reassembly. Having a visual record will prevent any confusion when reconnecting.
-
Remove the White Plastic Retainer: Locate the white plastic piece that acts as a retainer for the wires. You need to carefully pop this piece out to release the individual wires.
- Release the Retainer: Use your probe to gently push the white plastic bracket upwards, away from the port housing. This will disengage it from its locking position.
- Free Individual Wires: To release each wire, you’ll need to insert a small probe into the front of the OBD2 port connector, alongside the wire you want to remove. You’re aiming to depress a small plastic tab inside the connector that secures the wire terminal.
- Gently Pull Wires: Once you feel the tab release (it’s a subtle click or give), gently pull the wire from the back. Do not force it. If it doesn’t release easily, reposition your probe and try again until you feel the release. Repeat this for each wire.
Step 3: Re-bending the Connectors
The looseness of the OBD2 port connection often arises from the internal metal tabs within the connector terminals losing their tension. This step aims to restore that tension.
-
Access the Internal Tab: With a wire removed, look into the connector within the OBD2 port. You’ll see a small metal tab inside. This tab is designed to make contact with the pins on your OBD2 scanner plug. Over time, these tabs can flatten out, leading to a loose connection.
-
Re-bend the Tab: Insert your small probe into the connector and carefully get it under the metal tab. Gently push upwards to re-bend the tab slightly. The goal is to increase the angle of the bend, making it protrude more into the connector space. This will ensure a tighter grip on the OBD2 scanner pin when reconnected.
- Repeat for All Connectors: Repeat this process for each connector in the OBD2 port, ensuring you re-bend the internal tab in each one.
Step 4: Reassembling the OBD2 Port
With the connectors adjusted, it’s time to put everything back together.
-
Re-insert Wires: Carefully re-insert each wire back into its correct position in the OBD2 port, referring to the photos or notes you took earlier. Push each wire in until you feel and hear a click, indicating that the terminal is securely locked in place. If a wire is difficult to insert, small bent nose pliers can help guide it straight, but avoid bending the wire near the crimped terminal.
-
Replace White Plastic Retainer: Once all wires are reconnected, snap the white plastic retainer back into its place on the OBD2 port. This secures all the wires as a group.
-
Reinstall OBD2 Port into Bracket: Finally, push the OBD2 port back up into the sheet metal bracket until it clicks into place. Ensure both plastic tabs are engaged to hold it firmly.
Example of helpful probe tools
Conclusion
By following these steps, you should have successfully fixed your loose Rx8 Obd2 Port. This simple DIY fix can save you time and ensure a reliable connection for diagnostics. While this repair is often effective, remember that it’s a temporary solution. For a permanent fix, consider sourcing a new OBD2 port and connector terminals. However, this re-bending method is a cost-effective way to restore a solid connection and get you back to diagnosing and enjoying your RX8.